The Future - HDR
- Feb 9, 2016
- 1 min read
Today Chris gave us a tutorial on how to do a HDR effect on our images. There are two ways that it can be done, one way is using photoshop to change around the images exposers and then blend them together and the other way was to use the app photomatix pro which you put in as many different images in of the same thing with different exposers and it blended it for you. I prefered to use photoshop because I found I had more control over how my image turned out and I was ale to change areas and leave areas that I liked.

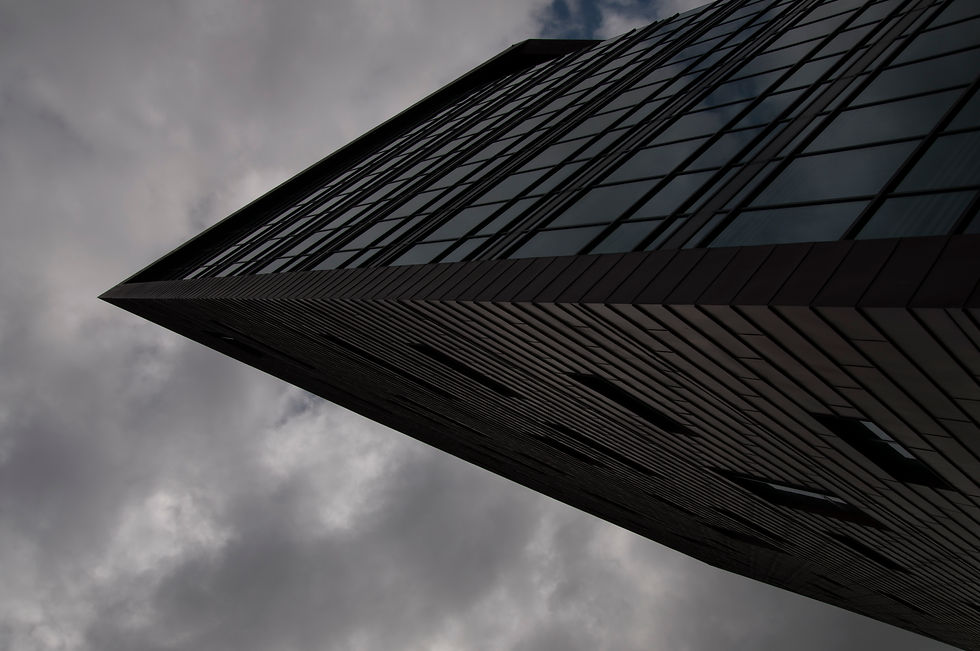
So this is the image I used to do my HDR effect, I first got the imge and named it 'mid tone', I then editted the exposer on the same image by -2 and called it '-2 sky' and then I went back to the orignal image and eddited the exposer by +2 and named it '+2 stop shadow'.
Afterwards I put the images on to photoshop as 3 seperate layers and then clicked on to image at the top of photoshop scroll down and you can click on to HDR processor which will creat the HDR effect for you.
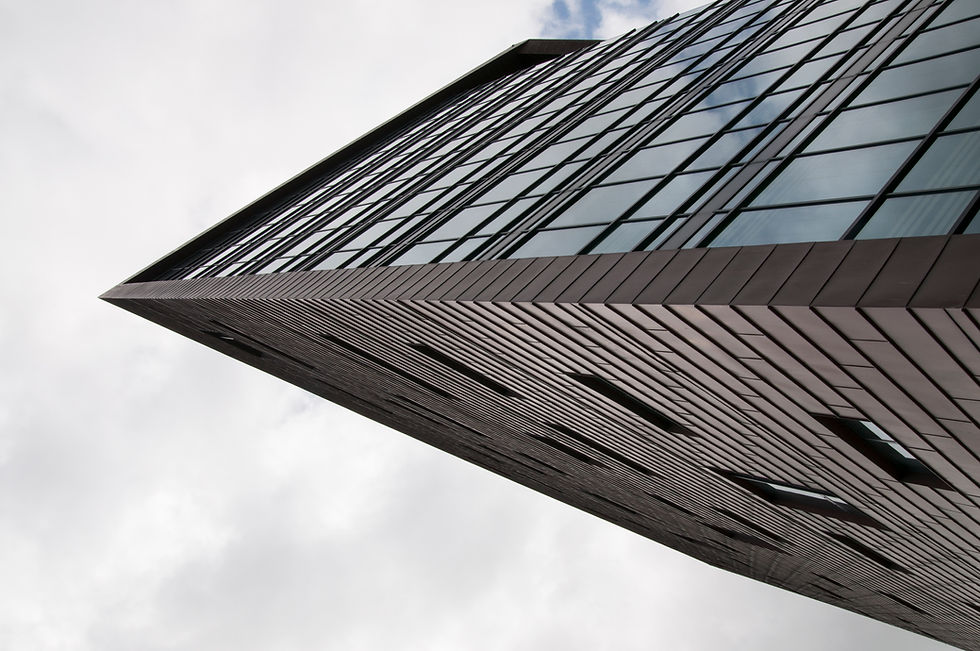
So this is the outcome of the HDR effect, I think it's a nice effect on certain areas in photography but I wouldnt use it in my work as I dont think it goes with my particular style.


Comments